Saving Images at High Bandwidth
Download PDF - Saving-High-Bandwidth
High Performance Recording
Many cameras are being used in very high bandwidth applications. There are many systems quite capable of displaying images under high bandwidth conditions. However, only a few systems manage to save images at high bandwidth.
Saving images to disk depends on multiple factors including:
- CPU speed
- Amount of RAM
- Hard drive write speed
- Software optimization
In order to save images to disk, the following steps are typically required:

Recommendations
To achieve maximum image saving performance, we recommend:
- Use the maximum supported packet size on the camera in order to achieve the highest frame rate
- Use multi-threading to acquire and save images
- Use Windows CreateFile and WriteFile functions with FILE_FLAG_NO_BUFFERING flag. For more information, see MSDN on file buffering.
Recording Modes
There are two recording modes: Streaming and Buffered.
Streaming Mode
In Streaming mode, frames are written directly to disk and not buffered in system memory while recording. This recording mode is only recommended for users with a fast hard drive, as slower hard drives may result in dropped frames. The hard drive’s write speed should exceed the desired camera bandwidth for optimum results.
Pros:
- Requires less CPU
- Requires less RAM
Cons:
- Possible dropped frames

Image Acquisition in Streaming Mode
Buffered Mode
In Buffered mode, frames are being buffered into system memory while recording. This is recommended for users with slower hard drives. In this mode, FlyCapture continuously buffers images in physical memory until the memory usage reaches 95%. If the memory usage exceeds 95% recording stops.
Buffered mode introduces a small delay for memory allocation as FlyCapture must dynamically adjust system memory during runtime. The memory allocation delay is introduced when the current image memory is full.
Pros:
- Fewer dropped frames
Cons:
- Higher CPU usage
- Consumes more RAM

Image Acquisition in Buffered Mode
Using FlyCapture2 to Record Images
Using the FlyCap2 GUI
To set the recording mode using the FlyCap2 GUI:
- Launch FlyCap2
Start-->All Programs-->Point Grey FlyCapture 2 SDK-->Point Grey FlyCap2 - From the Camera Selector dialog, select your camera and click OK.
- In the Camera window click the recording button or press F9.
- In the Recording Settings dialog, select the recording mode.

- Select an image format.
- We recommend saving RAW data format images. Other image formats require extra processing time that could result in dropped images.
- Click Start Recording.
Using the FlyCapture2 API
By default, streaming mode is enabled. HighPerformanceRetrieveBuffer is a special acquisition call included in the FlyCapture2 API to enable buffered mode.
In the default mode, Retrieve buffer reads registers on the camera to determine which embedded image information settings are enabled, the current Bayer Tile settings. When High Performance mode is on, these reads are disabled. This means that any changes to the Bayer Tile or to the embedded image information after StartCapture() are not tracked when made using direct register writes. If the corresponding SetEmbeddedImageInfo() and GetEmbeddedImageInfo() calls are used then the changes are appropriately reflected. This also means that changes to embedded image info from other processes are not updated either.
Enable BUFFER_FRAMES and allocate a large number of buffers. (The default is 10 buffers allocated.) As an example, 100 buffers on a 2.3 MP camera would consume 100 x 2.3 MB = 230 MB RAM.
The following code snippet enables buffered mode and allocates 300 buffers:

Testing Benchmarks
We tested two high bandwidth cameras: FL3-U3-13Y3M and GS3-U3-23S6M using a console test application. The console test application uses FlyCapture2 API with HighPerformanceRetrieveBuffer mode enabled. For information on why this mode is not enabled by default, please see Frequently Asked Questions Q3.
Flea3—FL3-U3-13Y3M System Benchmark
Both systems we tested, the Dell T1600 and the standard configuration, allowed the FL3-U3-13Y3M camera to reliably stream and save at its maximum data rate of 188 MB/s via FlyCapture2 API.
The test below ran for 30 seconds.
Camera Specifications
| Camera | FL3-U3-13Y3M |
| Resolution | 1280 x 1024 |
| Frame Rate | 150 FPS |
| Pixel Format | Raw8 |
| Packet Size | 24764 |
| Firmware | 1.41.3.0 |
System Configurations
| Dell T1600 | Standard PC | |
| Image Save Data Rate | 188 MB/s | 188 MB/s |
| Shutter | 6.5 ms (maximum shutter) | 6.5 ms (maximum shutter) |
| Skipped Images | None | None |
| CPU | Intel Xeon E31270 @ 3.4 GHz | Intel i7 4770 @ 3.4 GHz |
| Motherboard | Dell 6NWYK Precision | Asus Z87-Expert |
| RAM | 8 GB 1333 MHz non-ECC memory | 8 GB 1333 MHz non-ECC memory |
| USB 3.1 Adapter | Point Grey ACC-01-1201 2 port USB 3.1 card | On board Intel 8 series host controller |
| Operating System | Windows7 x64 | Windows7 x64 |
| Hard Drive | 2 x 250 GB Samsung 840 EVO SSD in raid 0 configuration | 250 GB Samsung 840 EVO SSD |
Grasshopper3—GS3-U3-23S6M System Benchmark
Of the two systems tested, the Dell T1600 allowed the Grasshopper3 to stream and save at its maximum data rate of 373 MB/s. The standard PC was able to stream and save at a maximum rate of 202 MB/s.
The key difference between the two systems is that the Dell T1600 has a raid 0 configuration.
The test below ran for 30 seconds.
Camera Specifications
| Camera | GS3-U3-23S6M |
| Resolution | 1920 x 1200 |
| Frame Rate | 162 FPS |
| Pixel Format | Raw8 |
| Packet Size | 48096 |
| Firmware | 2.7.3.0 |
System Configurations
| Dell T1600 | Standard PC | |
| Image Save Data Rate | 373 MB/s | 202 MB/s |
| Frame Rate | 162 FPS | 92 FPS |
| Shutter | 6.117 ms (maximum shutter) | 10.810 ms (maximum shutter) |
| Skipped Images | None | None |
| CPU | Intel Xeon E31270 @ 3.4 GHz | Intel i7 4770 @ 3.4 GHz |
| Motherboard | Dell 6NWYK Precision | Asus Z87-Expert |
| RAM | 8 GB 1333 MHz non-ECC memory | 8 GB 1333 MHz non-ECC memory |
| USB 3.1 Adapter | Point Grey ACC-01-1201 2 port USB 3.1 card | On board Intel 8 series host controller |
| Operating System | Windows7 x64 | Windows7 x64 |
| Hard Drive | 2 x 250 GB Samsung 840 EVO SSD in raid 0 configuration | 250 GB Samsung 840 EVO SSD |
Frequently Asked Questions
Q1: How do I identify the hard drive disk write speed before I buy it?
You can get an idea of the hard drive write speed by reading the hard drive specification. The hard drive write speed advertised by modern hard drives or solid state drives does not apply to certain applications. This is because the hard drive write speed is benchmarked by writing sequentially to the hard drive. Typically, a large file size of 1 GB is used to benchmark the hard drive’s sequential write speed.
Q2: How do I evaluate my hard drive’s write speed?
Machine vision applications typically write images with a size of 1 to 10 MB. In order to find a hard drive that can handle saving images at the required speed, we should benchmark the hard drive with the actual image size produced by the camera.
We developed a utility, PointGreyHDDBenchmark, that can identify the maximum data write speed for your hard drive.
Q3: Why isn’t HighPerformanceRetrieveBuffer enabled by default?
HighPerformanceRetrieveBuffer is disabled by default to provide customers the highest amount of flexibility. In general, Point Grey recommends enabling HighPerformanceRetrieveBuffer mode if you do not plan on dynamically changing embedded image information.
Related Articles
-
 Application Story
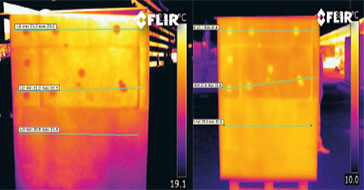
FLIR cameras support analysis and diagnosis of external thermal insulation systems
Read the Story -
 Case Study
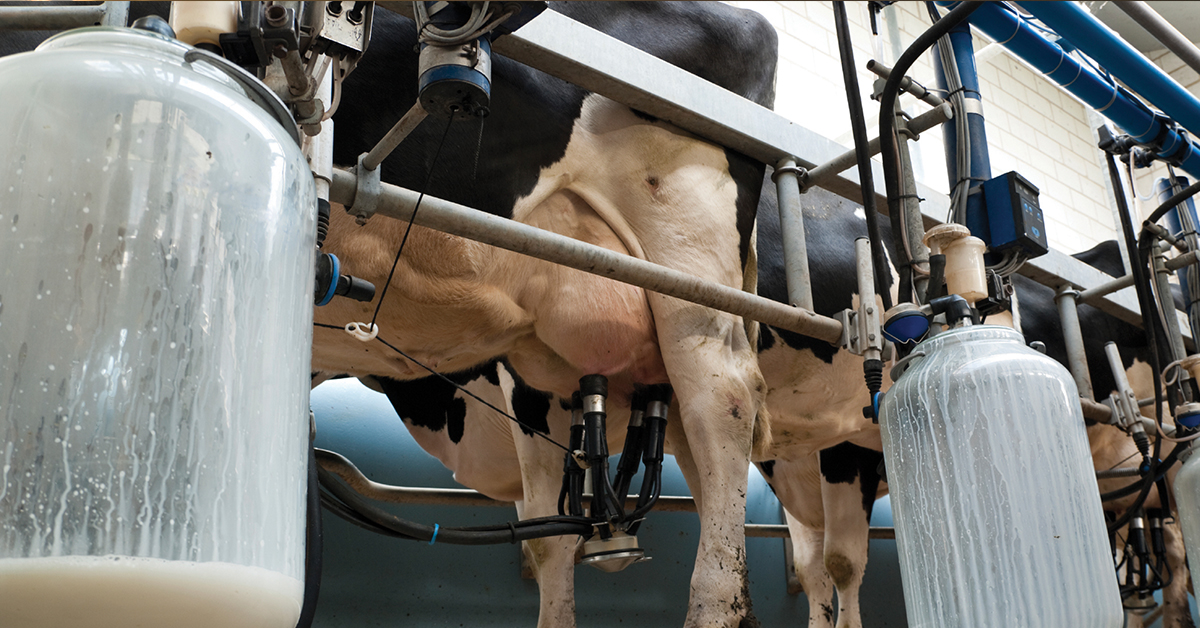
Automatic Health Check in Dairy Farms Using FLIR Thermal Imaging Cameras
Read the Story -
 Deep Learning
Comparing Deep Learning Cameras with Smart Cameras
Read the Story